If you’re here then you’ve probably already read the previous article; the first part to my short series on my proposal for an efficient file structure for managing comic creating projects. In this second part, we’ll be discussing how you can start organizing your rough draft, editing, and final draft files.
In order for you to get the most out of this article, I recommend reading up the first part here.
Have you read it?
Yes?
Alright then, let’s get started!
Getting Started On Your Rough Drafts
You’ve filled out your character sheets, you’ve filled out your index cards, you maybe even got a few storyboards done; you’re ready to get started with your rough draft of this awesome new project! Awesome, once you feel ready, you can move onto the next stage rough draft development stage of your comic creating project.
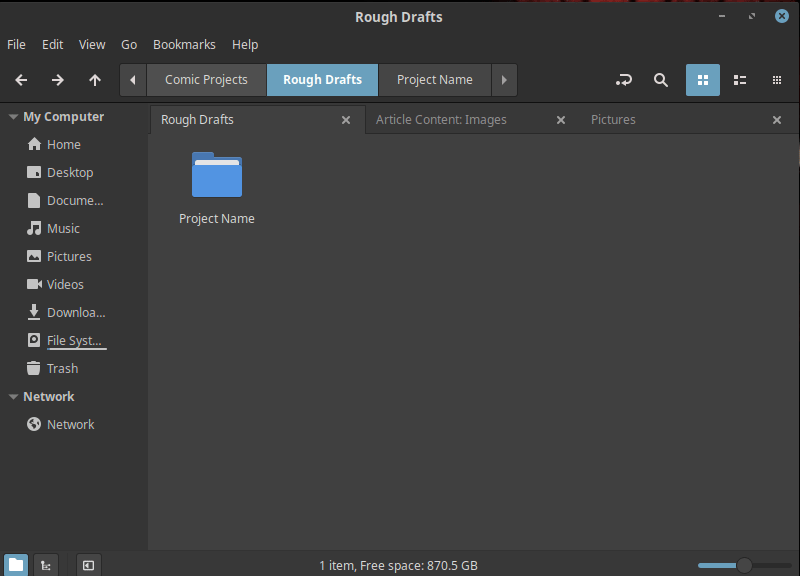
In order to proceed to the next stage, you’ll have to go to your In Progress folder and move (cut and paste) your Project Name folder into the Rough Draft folder.
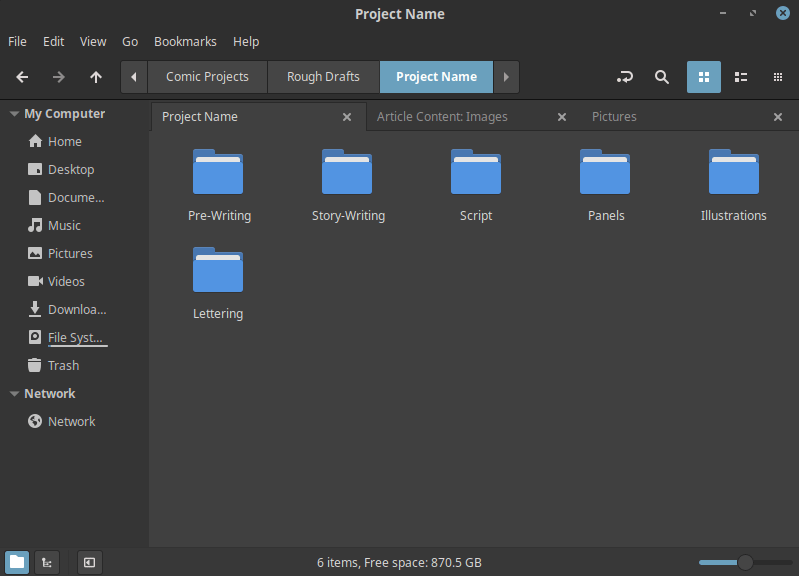
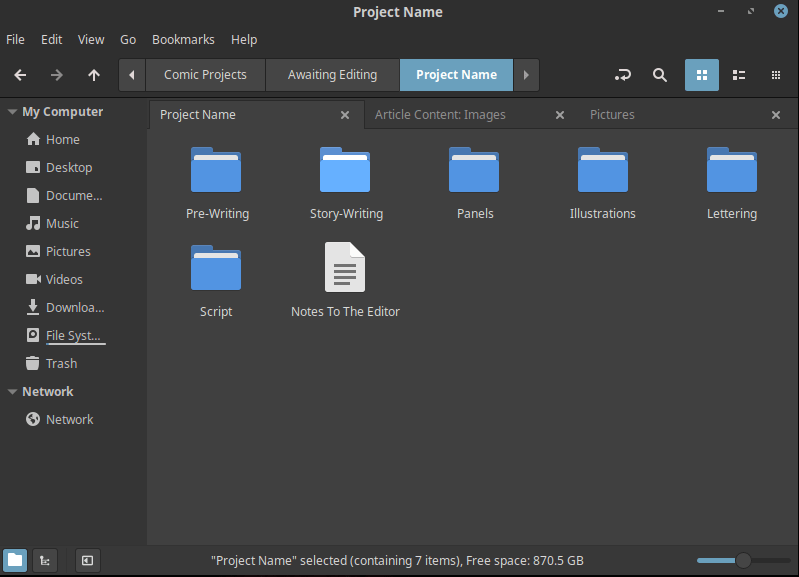
After moving your Project Name folder into the Rough Draft folder you’ll be creating a few folders inside it. This will depend greatly on your own personal comic creating process. I myself would start by creating the following folders: Script, Panels, Illustrations (you can add folders inside here for Penciling, Inking, Coloring), and Lettering. You can add or omit any folders you find necessary. See below for an example.
Managing The Rough Drafts Folder
You’ve created the folders you know you’ll be using you can start working on producing your first drafts of your project. For me, this would mean starting with a script.
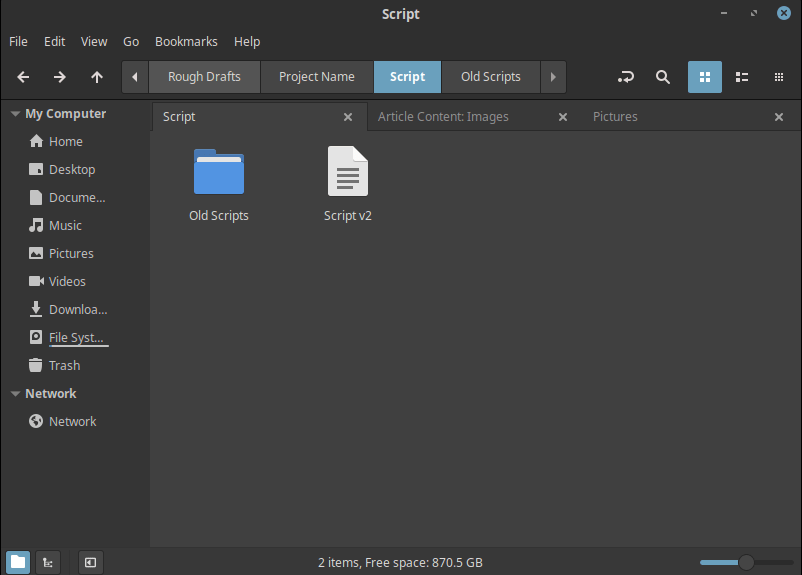
You’ll be managing your folders similarly to how we structured them for the Pitches folders. Keeping the most up-to-date version of the script available for easy opening while storing older versions next to it inside a folder.
At the point where you have completed a script, you’ll stop and move on to the editing stage.
Using Your Awaiting Editing Folder
Once you’ve completed a rough draft of anything you can then start editing your work. How this will work using this file structure is by moving (cut then paste) your Project Name folder over to the Awaiting Editing folder, see below for an example.

Like the article so far? Support the production of more articles like this one!
Using Notes To The Editor
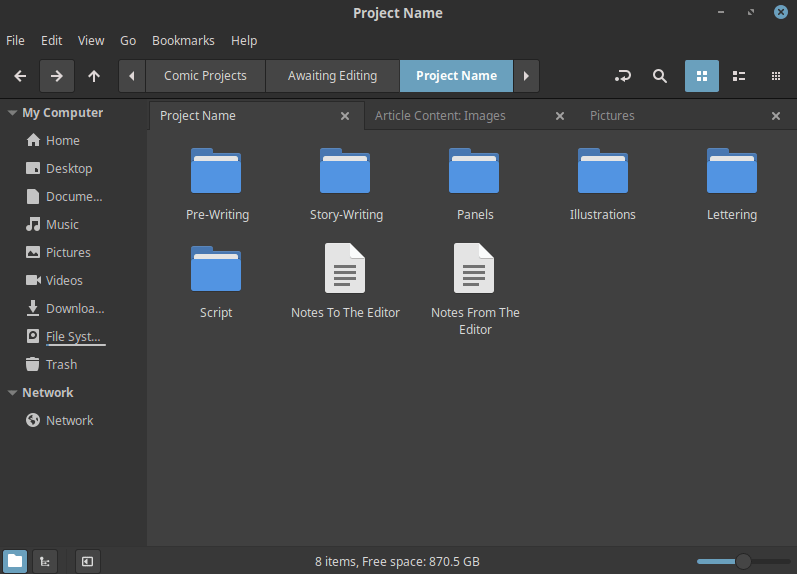
This step isn’t exactly required if you are in constant communication with your editor or if you are your own editor. Either way, you may want to consider adding a text document inside your Project Name folder before or after moving over to the Awaiting Editing folder for the first time.
Inside this text document, let's call it Notes to the Editor, you can add any notes you think are important for your editor to know when you are sending him a folder with a ton of different files.
I would think that the following information would be pretty beneficial to anyone trying to edit a new project:
- Name of the File that requires editing (i.e. Script v2).
- File path (so that the editor can easily copy and paste to navigate the files shared; i.e. /roughdrafts/script/scriptv1).
- Things you feel that the editor should look out for (i.e. grammar, expression, spelling mistakes, new terms/names that you’ve created to make sure that the editor doesn’t change them)
You can add any other notes that you feel are necessary.
How Can An Editor Use The Awaiting Editing Folder?
Whether you are your own editor, or you have someone to edit your work, I would recommend that the editor never alter the file that they are editing.
I recommend that the editor use editing tools that mark the document. These markings would leave imprints over the original file without overwriting the work done by either the writer or illustrator.
Sometimes this can be done with the same text editing software used to create the rough drafts. Even when this is the case you may prefer to have the original rough draft copied (copy then paste) and edited as a separate document.
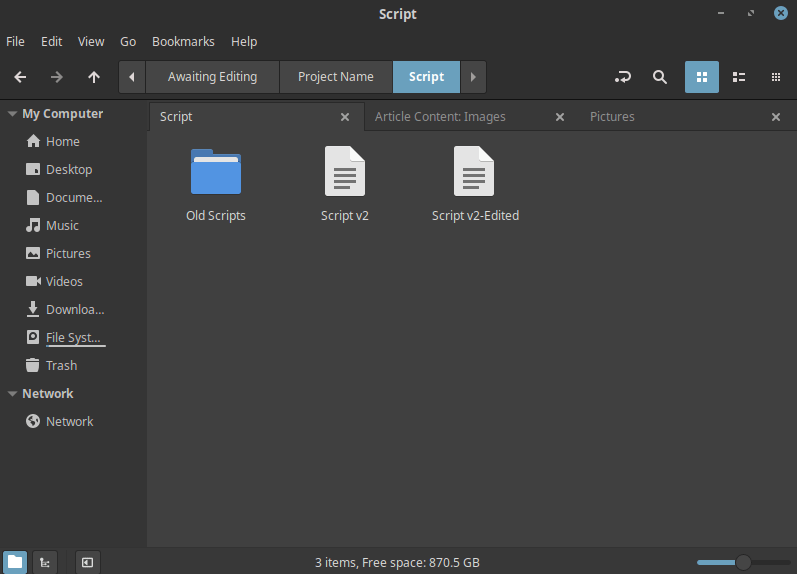
Whether or not you go with either of the two options mentioned above you can then request that the edited document have a new name. I would be partial to having the editor add “-Edited” to the end of the edited document. See below for an example an editor providing a separate edited copy of the second version of the script.
I personally like this option because then I can print both the edited and unedited versions of the document and compare the work side by side.
Moving Back To The Rough Draft Folder
After you’ve finished your task as an editor you would then proceed to move (cut then paste) the Project Name folder back to the Rough Draft folder for the writer or illustrator to start working from your notes.
Leaving Notes From The Editor
This is also another optional file you may want to consider adding when transferring files between the Rough Draft and Awaiting Editing folders. Having the editor add some notes for the writer or illustrator to keep in mind when reviewing any markings on the rough drafts can be a big help to clear up any misunderstandings.
It could be handy for the editor to make notes of the following:
- What files they edited (file names).
- The file path of the files edited.
- Questions/answers/thoughts that they may have for the rest of the team.
- What the editor’s markings mean i.e. WTF! = “Welcome to Facebook” (this is a joke).
Working Your Way To A Final Draft
You would hope that by going back and forth from the Rough Draft and Awaiting Editing folder you would eventually revise your work until your satisfied with it. Once you are happy with the feedback you have received from the editor you can create a final revision copy of either your files (Script, Panel, Illustrations, Lettering, etc).
After making the final edits to this version you can then rename the file to something that indicates it’s final draft status. I would be happy with something ending with a “-Final Draft” or “-FD” (i.e. Script-Final Draft, Script-FD, etc).
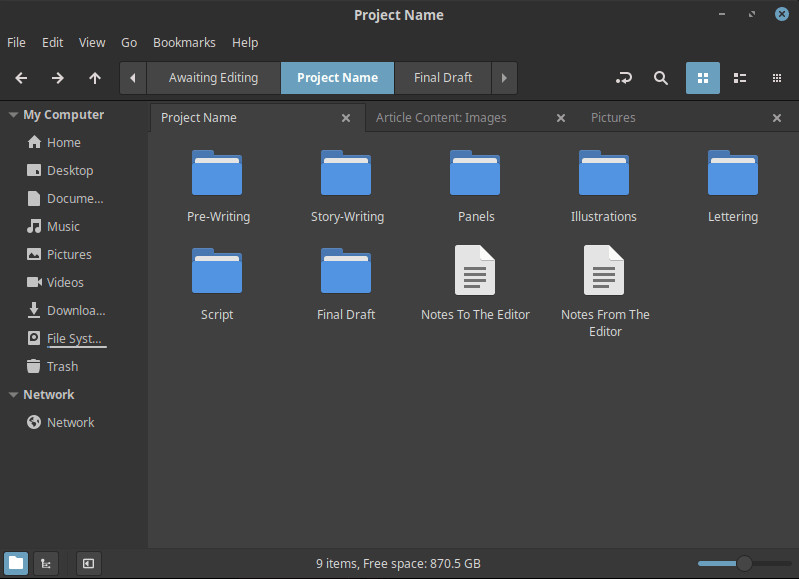
Once you’ve given the final revision the final draft status indicator you can then go back to the Project Name folder and create a new folder called Final Draft. You’ll move all files with the final draft status indicator to this folder. This way you know where all your working files exist; see below.

Conclusion
There we have it, folks! We’ve gotten to the point where we can organize our files all the way up to the Final Draft folder!
You might think that it’s all over, but trust me, when it comes to comics nothing is easy (at least that’s what I’ve learned in the years researching this stuff). We now need to figure out how you can prepare your files for printing and/or distribution.
In the next article, I’ll be covering just that. That, and how you can organize some of your marketing files to work alongside your comic creating process.
In the meantime, thanks for reading, see you in the next article!
Sign Up For
The Unknown Times!
Content Updates
Website News
Recommended Reading
And More to Come!
*Once every two weeks!*
Liked the article? Become part of my Patreon Community!
About The Author

Phillip Allen
Writer, Editor, and Founder of Unknown Comics
Hello there! My name is Phillip Allen and I'm the writer, editor, and founder of Unknown Comics. I am an aspiring comic book creator. In an attempt to learn how to create my own comic I came to learn just how few reliable resources existed out there. From a few books and unhelpful websites I decided to focus my attention on researching and writing a resource for both myself and the rest of the comic creating industry. This website and and its content is the result of all of that hard work.